


Welcome to
West Coast Crafty
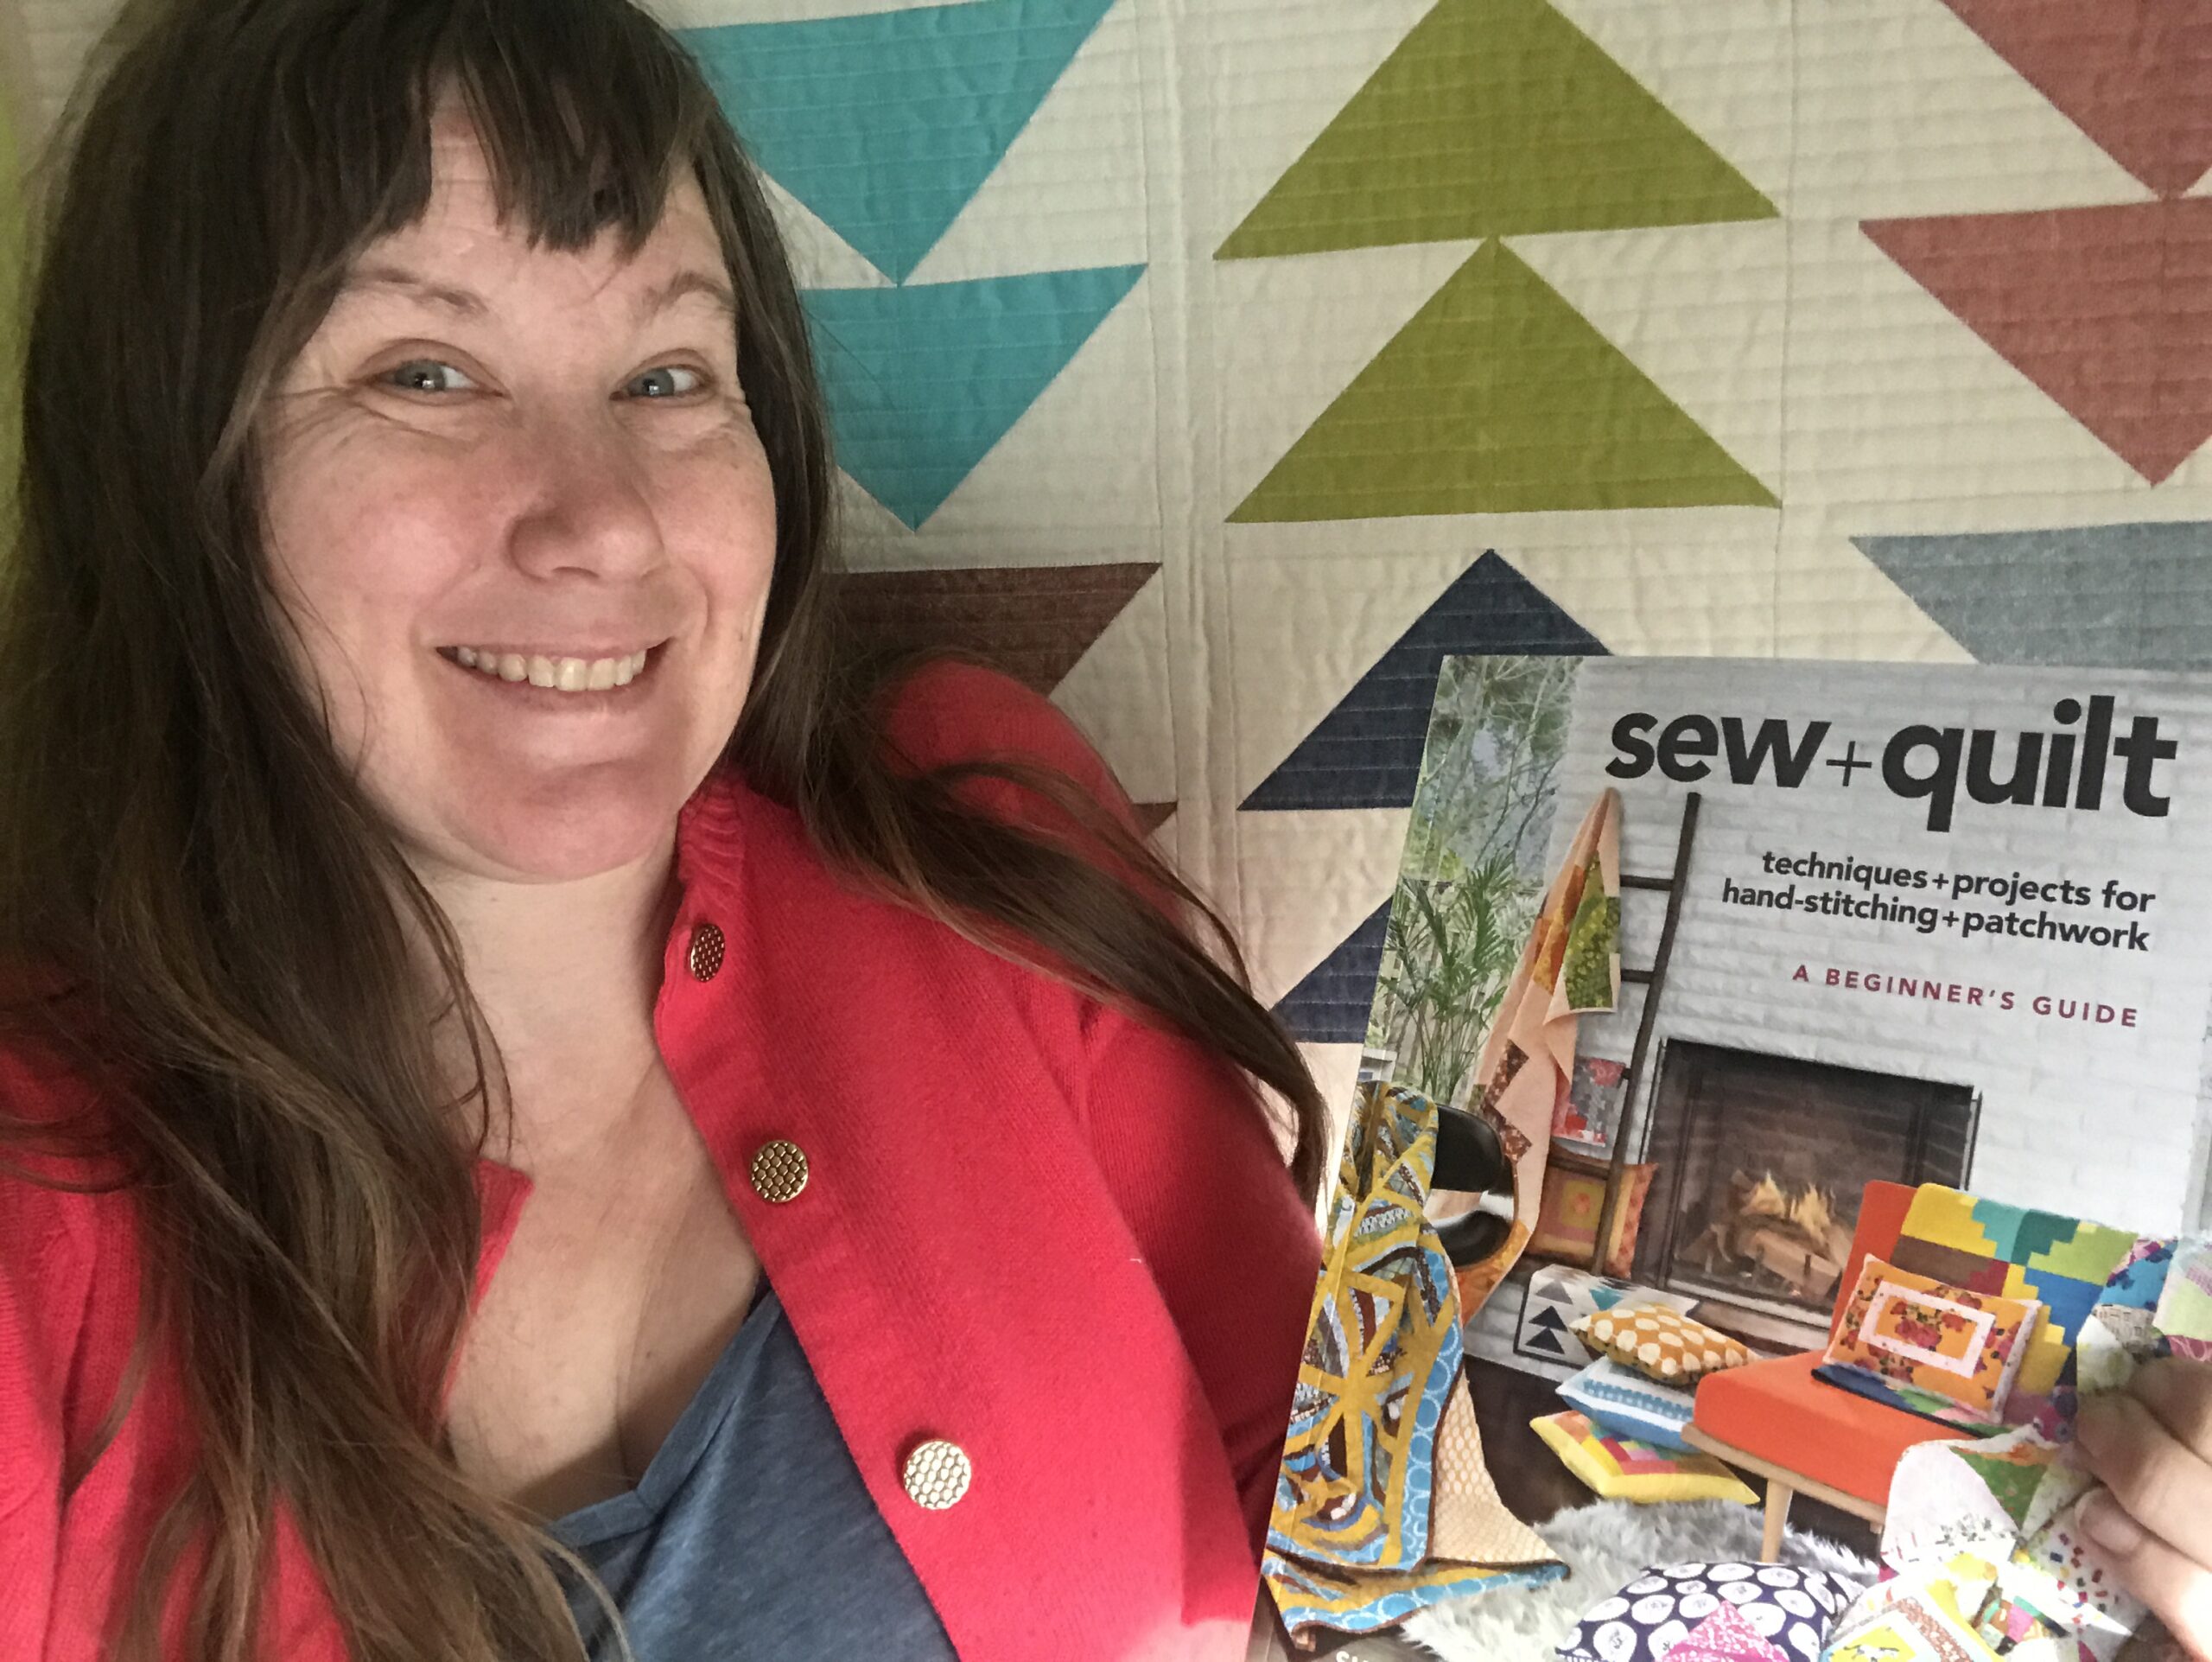
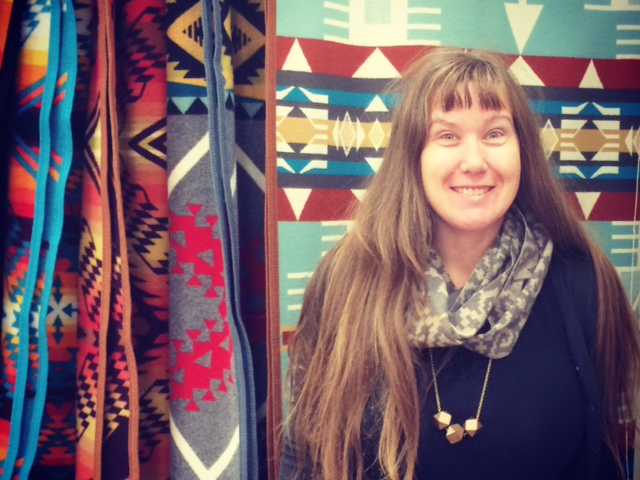
Hi, I'm Susan! I'm a craft writer, teacher, and Girl Scout leader in Portland, Oregon. I started writing a "West Coast Crafty" column for getcrafty.com in 2005, which turned into my own daily blog of crafty life in Los Angeles and Portland. Now, I'm excited to share my books, new classes, tutorials, and everything else I’m doing here. Drop me a line if you'd like to say hello!
My Books

Creativebug Course
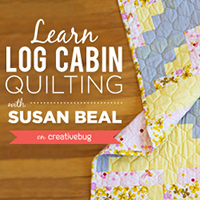
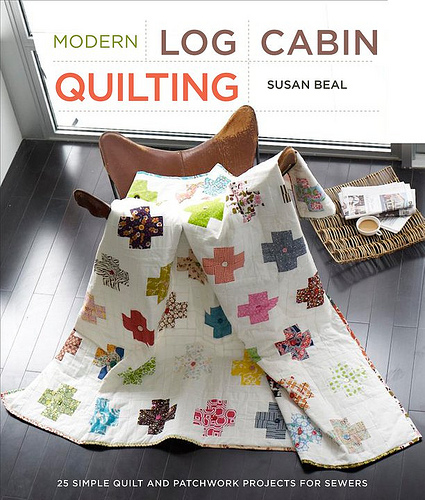
Join me for a Log Cabin Quilting online creativebug course, which puts a fresh spin on the very traditional craft of log cabin quilting.
CreativeLIVE Class

Join me for CreativeLIVE Sewing Class for Beginners! We'll make appliqued t-shirts and backpacks, oilcloth lunch bags, skirts, capes, art totes and lots more projects. Go here to get all the details!
Taunton Workshop
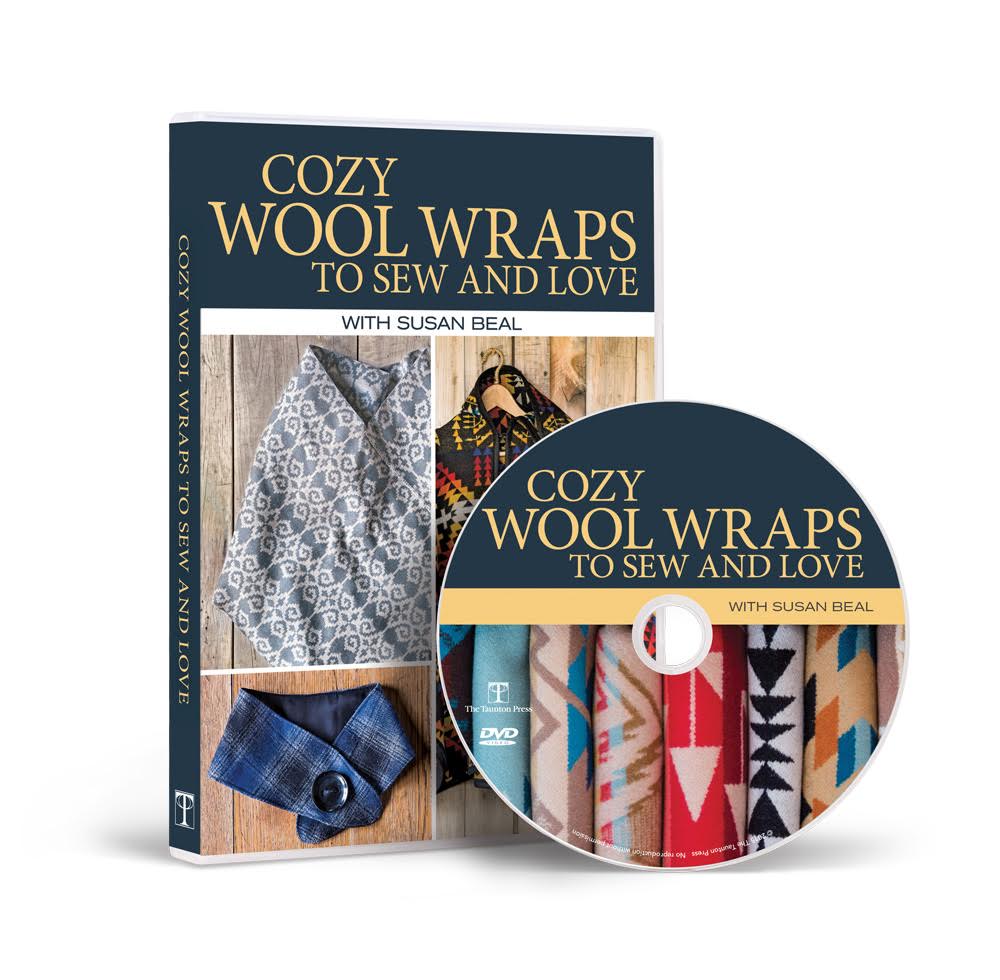
Join me to sew a cozy scarflet, striking modern shawl, and stunning vintage-inspired winter cape in my Taunton Workshop, Cozy Wool Wraps to Sew and Love! Get the details here.
Stitch Workshops
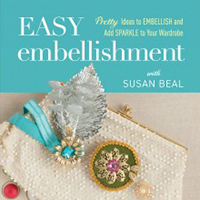
Join me for a Stitch Video Workshop ! I share my favorite techniques for creating unique garments and accessories with simple and pretty embellishments.
Recent Blog Posts

About Me
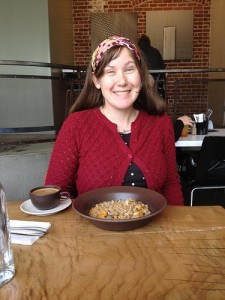
I’m a freelance writer and I love to make things!
I’m Susan and my husband Andrew and I live in Portland, Oregon with our kids Pearl + Everett.
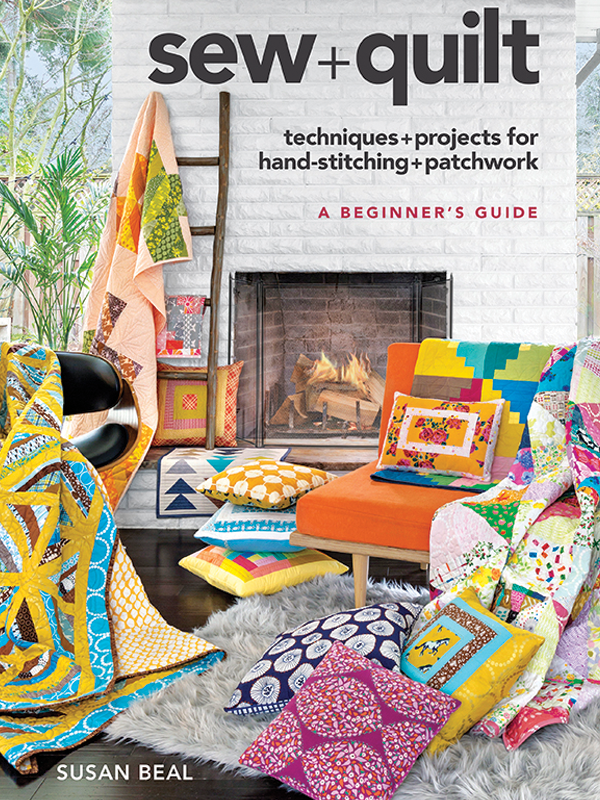
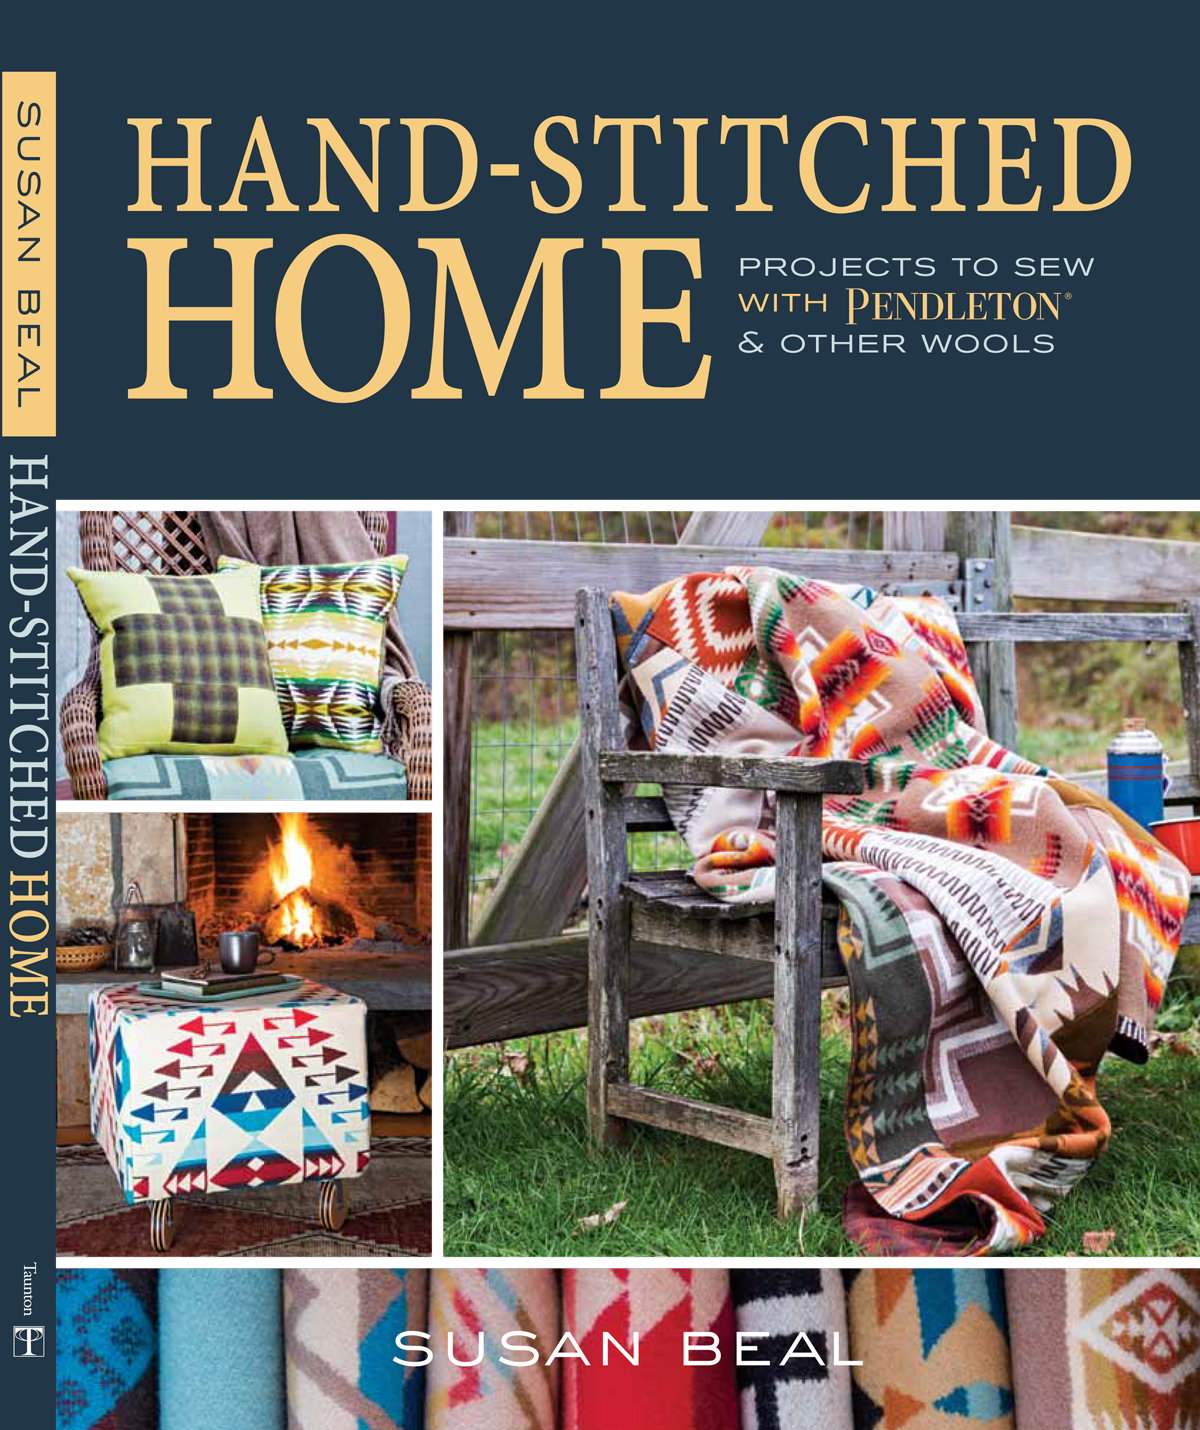
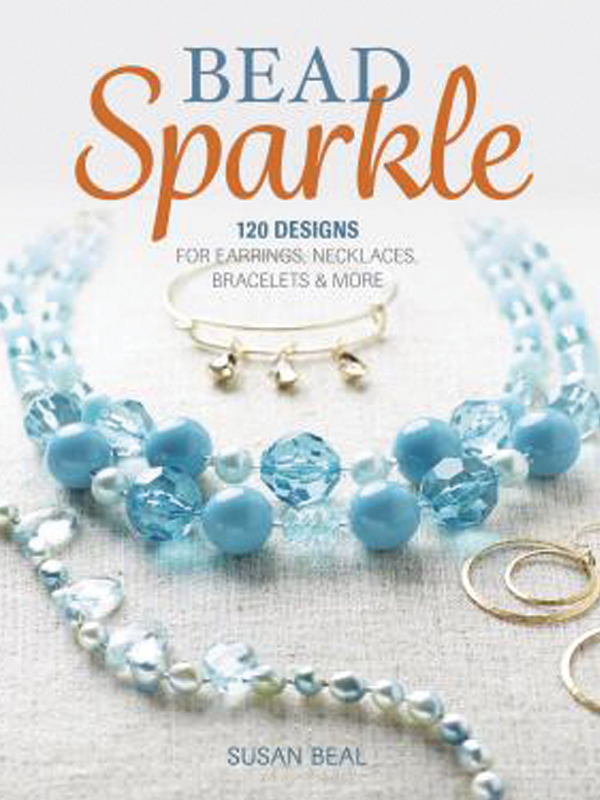
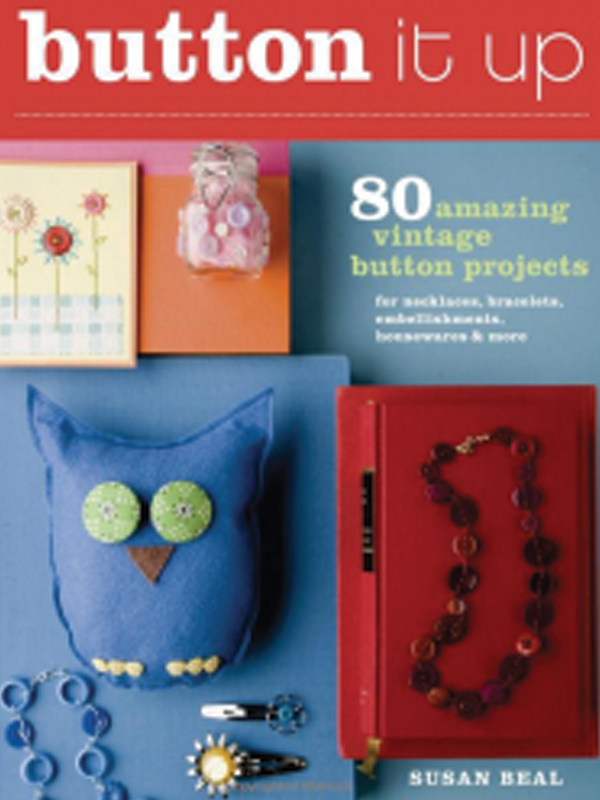
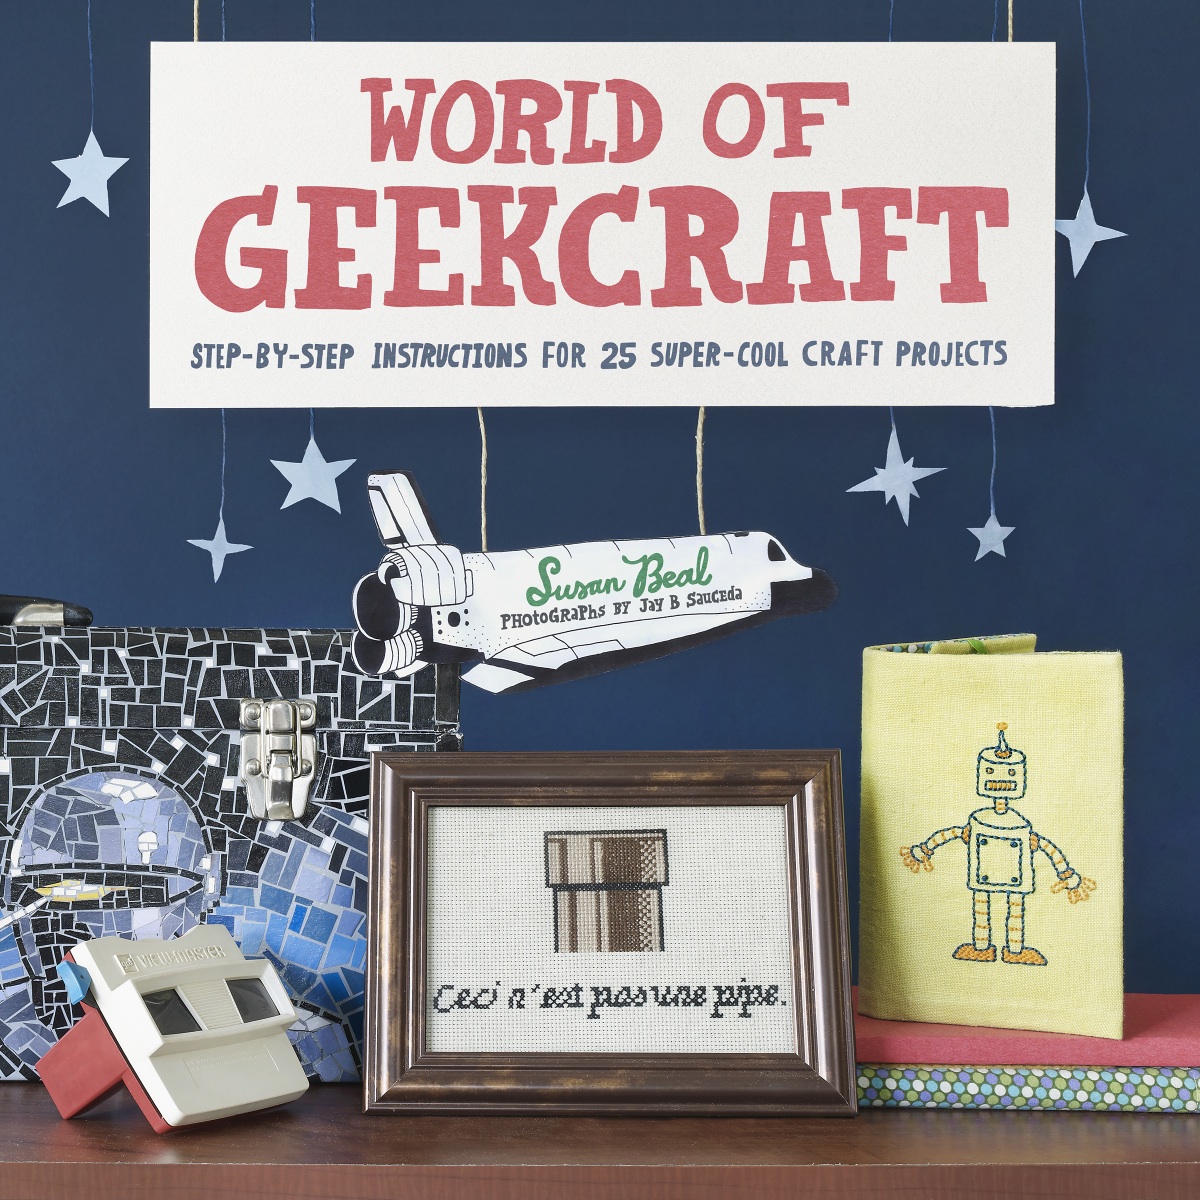
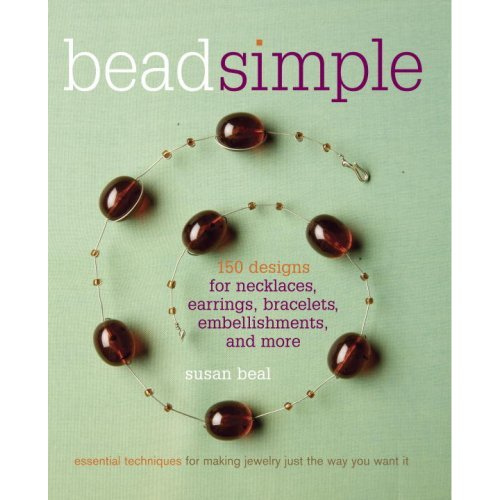
I’m the author of Sewing for all Seasons, Bead Simple, Button It Up, Modern Log Cabin Quilting, and World of Geekcraft.
I’m also a contributing editor at Stitch Magazine and the historian for the Portland Modern Quilt Guild
Learn More…
Book Reviews
Delightful projects with clear, sure-handed instructions. This beautiful book will captivate and inspire seasoned crafters and beginners alike
It’s the perfect time of year to start thinking about making some homemade goodies to give as gifts for the holidays. If you are someone like me, with more ambition than real sewing skills and a tendency to over-estimate how much free time I actually have (yes, wishful thinking!), you really need to choose your projects with care. I think...
According to Charlie McConnell, a geek is made up not only of flesh and blood, but of awesome. I agree with this. Geeks are awesome. So is this book, World of Geekcraft. It has lots of awesome projects. Some are difficult and need time and effort to complete but if you use time and effort, the projects will come out...
A user-friendly manual to such “kooky” items as Dungeons & Dragons earrings, Star Trek pillows, and Morse code quilts. Beal is no stranger to hipster DIY, and she possesses a talent for imparting simple instructions with a sense of fun. Filled with color photographs by Jay B. Sauceda, World of Geekcraft offers readers an inspired excuse to let their crafty...
I was impressed by the readability and clarity of the directions on the projects. The steps are written specifically. Unlike some craft books, this one has an image for every project on facing page. There is no searching for what the project should look like.
If you have a love for buttons + crafting this is the perfect book for you.
I think that’s part of the fun of Button It Up — not only are the projects are wonderful, you also get a huge dose of button eye-candy. Yum yum.
If you’re familiar with Susan’s jewelry-making book,Bead Simple (a well put together and highly approachable book, if you’re interested in jewelry making), you’ll appreciate that Button it Up follows a similar format — lots of great “recipes” (that’s how I think of them) for making unique projects, this time using buttons.
The book has 80 projects in Susan’s signature simple style — each one lets the focus be on the unique buttons you choose to highlight. Every project is complemented with full page photography so you can soak up all of the pretty buttons contained in each one.
The Vintage Button Primer gave me an incredible appreciation for buttons and left me really excited to see how Susan and the guest contributors used them in the book. Aside from the primer chapter, the book is filled with a beautiful variety of projects from home dec items, to jewelry and gifts. Most are in the easy to medium category...